Organizing Files in a User Box
Delete a file
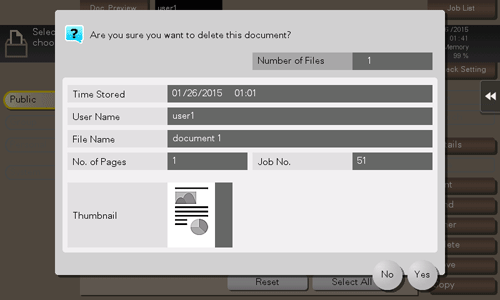
Select a file, then tap [Delete]. The file is deleted. You can also long-tap the target file to display the menu icon, then drag and drop it to  to get the same result.
You can select multiple files and delete them simultaneously. Check the file details, then tap [Yes].
Renaming a file
Select a file, and tap [Other] - [Edit Name]. Now you can rename the file.
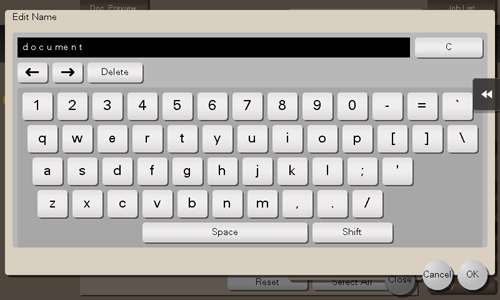

Before renaming a file, check the destination server conditions and others.
You can also rename a file during transmission.
Registering a file as an overlay image
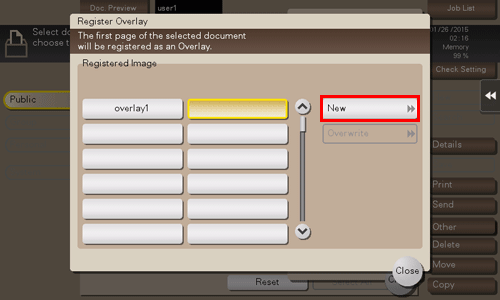
Select a file, and tap [Other] - [Register Overlay]. Now you can register a file as an overlay image.
Once registered, you can compose an overlay image on the original during copy or printing from the PC. Also, you can compose an overlay image onto a User Box file during file printing.
You can register up to 100 overlay images.
To register an overlay image, select an unregistered key and tap [New].
To register an overlay image by overwriting an existing one, select the registered key and also tap [Overwrite].
Enter the name to register, and tap [OK].
If necessary, change image settings, and tap [Start].
If a file consists of multiple pages, the first page is registered as an overlay image.
Once registered, you can compose an overlay image on the original and copy it by selecting [Application] - [Registered Overlay] in copy mode of classic style. Also, when you print a file from a User Box, you can compose an overlay image to the file and print it by selecting [Application] - [Registered Overlay].
Confirming file information
Select a file, and tap [Details] to confirm the detailed file information.
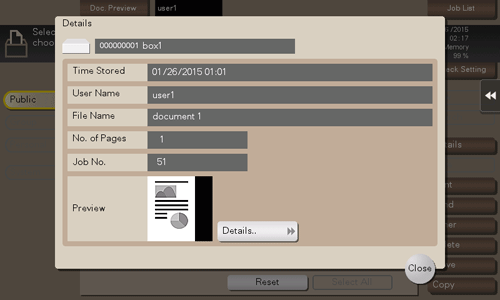
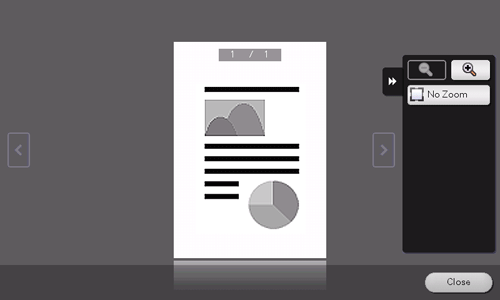
You can tap [Details..] or a thumbnail image to preview the file image.
If you tap the tab key on the right of the screen, you can display or hide the setting key. The setting key enables you to enlarge or reduce a preview image.