
Adding a Management Number to each File in User Boxes ([Annotation])
To register a User Box in which a management number is added to each file
Registering an Annotation User Box
Select [Utility] - [Administrator] - [Box] - [System User Box List].
Select [New Registration] - [Annotation User Box] to configure the following settings.
Setting
Description
[User Box Number]
Registration number of the User Box. Select [Use opening number] to automatically assign the smallest available number. When specifying a number, select [Input directly], and enter a value between 1 and 999999999.
[User Box Name]
Enter the User Box name (using up to 20 characters).
[Assign User Box Password]
To restrict usage of the User Box with the password, set this setting on.
[User Box Password]: Enter the User Box password (using up to 64 characters, excluding double quotation marks ").
[Auto Delete Document]
Specify the period from the date/time when a file was saved in a User Box; the date/time when a file was last printed; or the date/time when a file was sent from a User Box, to the date/time when a file is to be deleted automatically.
[Do Not Delete]: Keeps the file in the User Box.
[Do Not Keep]: Select this option to use a document to give an annotation only without saving or using it for copying.
[Specify days]: Select the number of days until the file is automatically deleted.
[Specify Time]: Enter the time period before the file is automatically deleted.
[Count Up]
Select the unit for adding a number to a file from By Job and By Page.
[By Job]: Adds a number for each file. Even if a file has multiple pages, a same number is added to the file as one job.
[By Page]: Adds a number for each page.
[Stamp Elements]
Specify the fixed text, date and time, and print position to be added to a file.
[Primary Field]: Add any text (using up to 40 characters).
[Secondary Field]: Add any text at the beginning of the annotation (using up to 20 characters).
[Date/Time Setting]: Select the format for the date and time.
[Print Position]: Select a position to print the annotation at.
[Density]: Select the density of characters of the date and time and annotation to be printed.
[Number Type]: Select the digit number of annotation.
Tap [OK].

Registering an Annotation User Box (Web Connection) (Here)
To save a shared file to a User Box
Save File in a User Box
Saving (Basic operation flow)
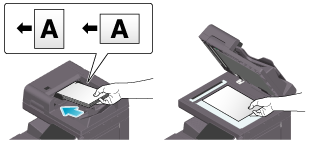
Load the original.
Display the User Box screen.
For details on how to display the screen, refer to Here.
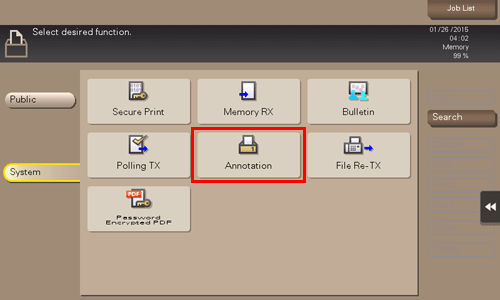
Tap [System] - [Annotation].
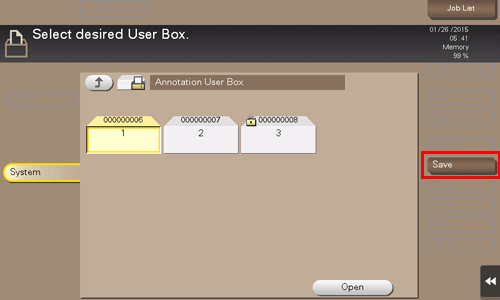
Select a User Box to save a file in, and tap [Save].
Specify options to save a file as needed.
For details on option settings, refer to Here.
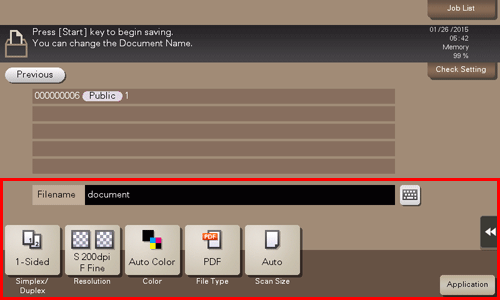
Use the Start key to start saving.
Saving files in copy mode
You can save original data scanned in copy mode of classic style to a User Box.
For details, refer to Here.
Save files from a PC
When specifying to print using the printer driver, you can specify a User Box number and store the print data in the box.
For details, refer to Here.
To print a file saved in a User Box
Print Files in a User Box
Display the User Box screen.
For details on how to display the screen, refer to Here.
Tap [System] - [Annotation].
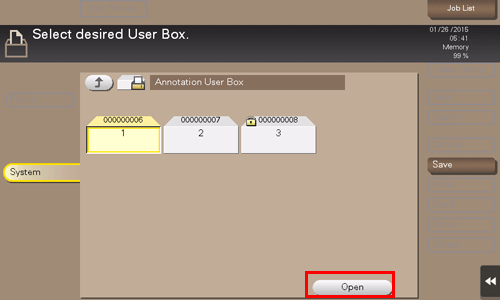
Select the desired User Box, and tap [Open].
If the target User Box is protected using the password, tap [Open], and enter the password.
You can also open the desired User Box by tapping it twice.
Select a file to print, and also tap [Print].
You can also long-tap the target file to display the menu icon, then drag and drop it to
 to get the same result.
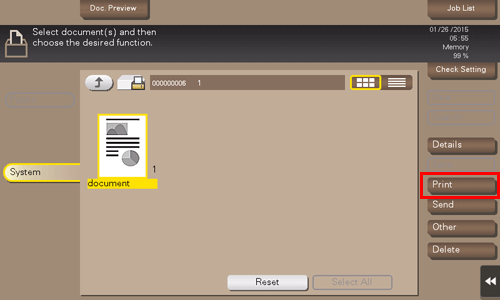
Specify print options as needed.
If an output image cannot be displayed, [Preview on Screen] is displayed. To check an output image, tap [Preview on Screen], and confirm the target output image on the preview screen.
For details on option settings, refer to Here.

Use the Start key to start printing.

To send a file saved in a User Box to an E-mail address or computer on the network
Send Files in a User Box
Display the User Box screen.
For details on how to display the screen, refer to Here.
Tap [System] - [Annotation].
Select the desired User Box, and tap [Open].
If the target User Box is protected using the password, tap [Open], and enter the password.
You can also open the desired User Box by tapping it twice.
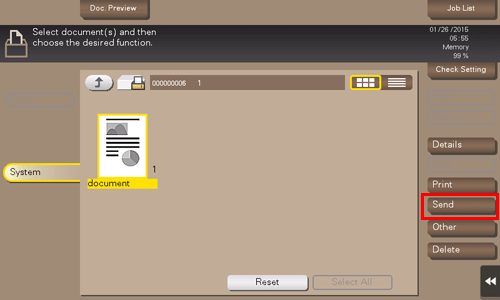
Select a file to send, and tap [Send].
You can also long-tap the target file to display the menu icon, then drag and drop it to
 to get the same result.
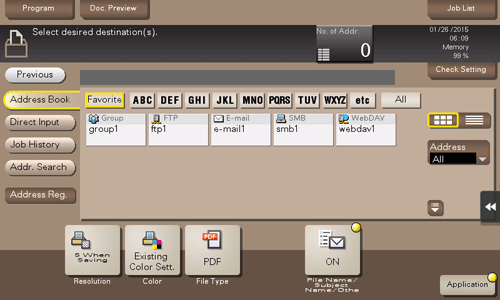
Specify the destination.
For details on how to specify a destination, refer to Here.
Specify transmission options as needed.
For details on option settings, refer to Here.
You can change the file annotation if necessary. For details, refer to Here.
Use the Start key to start transmission.